Here is how I did it! Enjoy! :) (the dates are not correct on the photos! haha)
 The first thing I did was go to Hobby Lobby and purchase a large frame. I chose an 18x24 because I needed a good size one for all the bows.
  While I was at Hobby Lobby I picked out fabric and ribbon. I chose the zebra print because Hadley's room has a jungle theme from her nursery days. I felt it matched the best with her current decor.
  For this project you need box tape and a hot glue gun. Oh, and scotch tape (not shown).
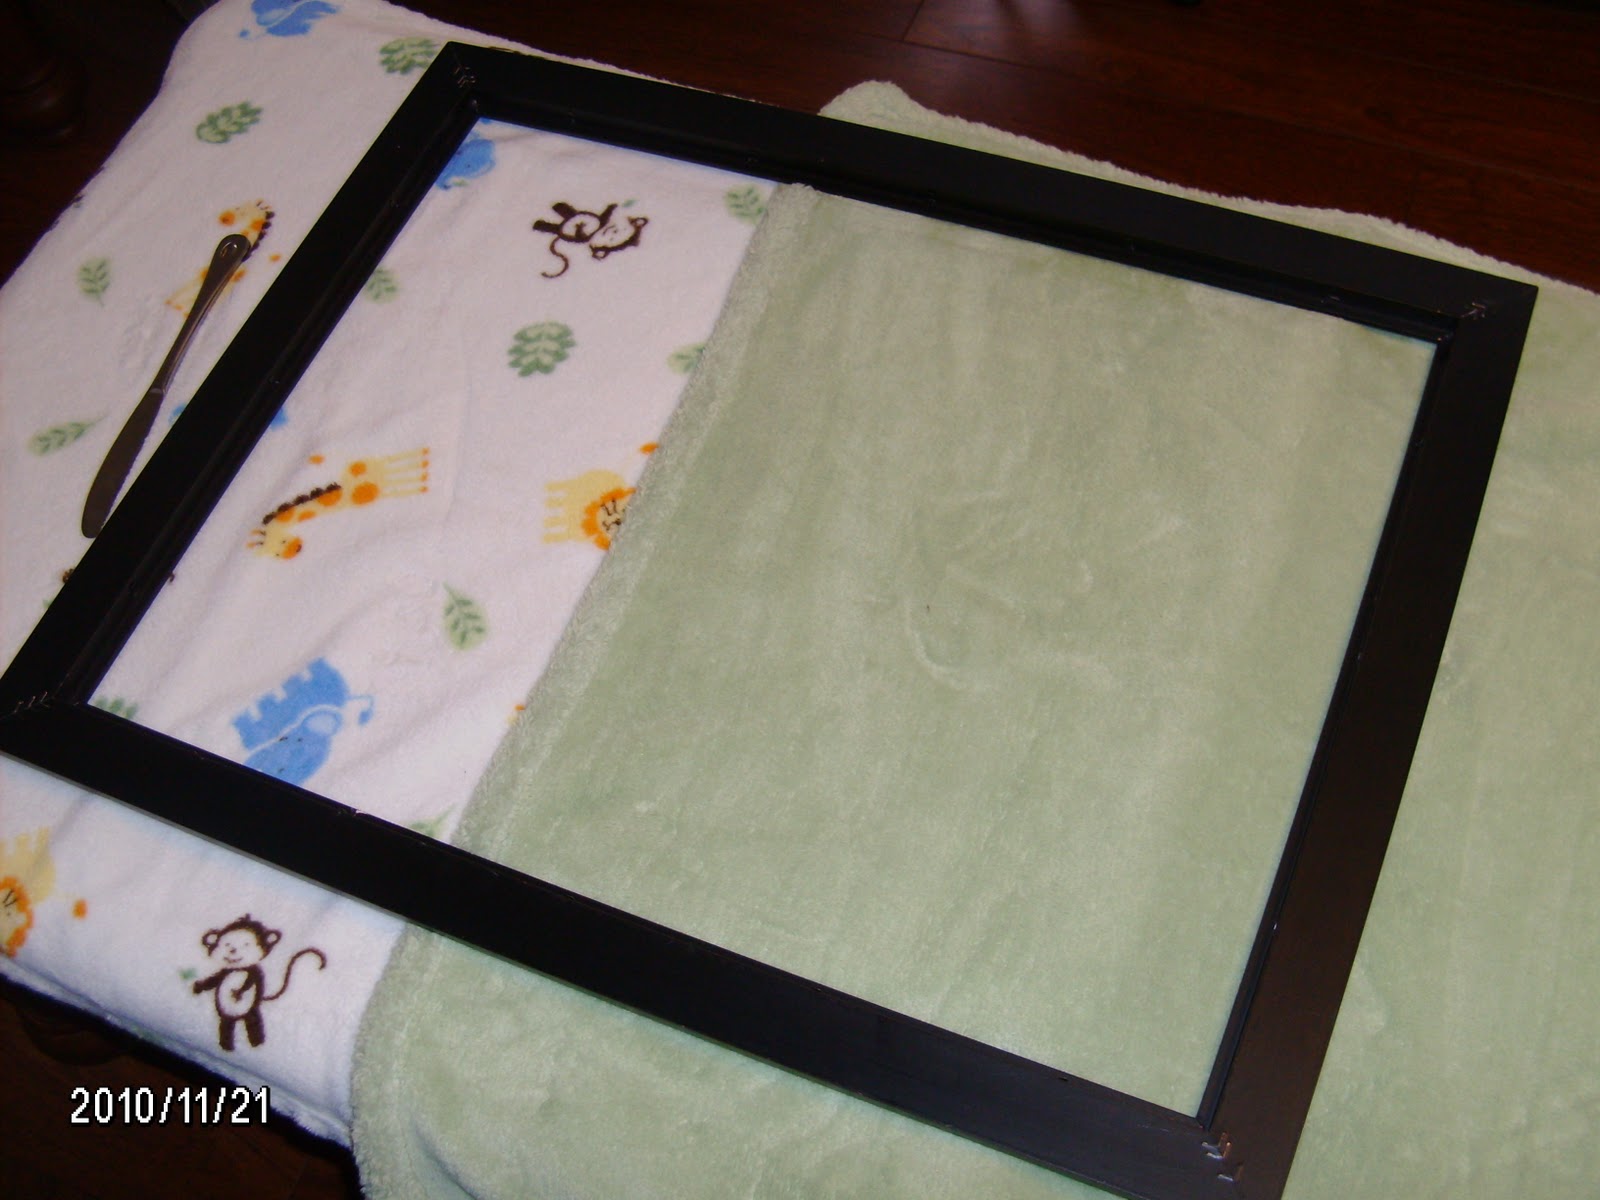 Once you have all your materials, find a good sized space to "operate" on. I took everything off my coffee table and put down some baby blankets so I wouldn't scratch the wood. Then I took out the glass (which broke) and my husband disposed of it for me.
  Next, I laid down the fabric and placed the "backing" or board on top to better measure the fabric. I cut the corners at an angle so they would not be bulky in the back so I could hang it on the wall at a later time.
  The main aspect of this project that most concerned me was how I put this together in a way that would "grow" with Hadley as her tastes matured. So I decided to tape the fabric to the board on the back instead of hot gluing it. That way I can take a razor or box cutter later and cut it when we wanted to change decor. I did, however, hot glue the ribbon to the fabric.
  In order to get the ribbon's straight I used scotch tape keep them in place on the front. As you can see I placed the skinner polka dot ribbon on top of the wider green ribbon to give it more depth.

I do have to confess that I had friend come help me with with the cutting and gluing. In fact I don't even own a hot glue gun! Yikes, huh? That is on my to-buy list now that I feel more comfortable using one.
I actually made some wreaths for Christmas too, but I will leave that for another blog!
Thank you for letting me share my first DIY craft! Hopefully, there will many, many more in my future!
God Bless,
Jenifer
No comments:
Post a Comment